In today’s digital world, great visuals grab attention instantly. Whether you’re posting on social media, running a blog, or building a personal brand, well-edited photos can make a huge difference. The good news is—you don’t need hours of editing or professional skills to make your photos look designer-level.
With the right techniques and tools, you can transform ordinary images into eye-catching visuals in just a few minutes. This guide will walk you through simple, effective tips to help you edit photos like a designer—quickly and effortlessly.
Why Designer-Style Photo Editing Matters
A well-edited photo doesn’t just look good—it communicates quality, creativity, and professionalism. Designer-style editing focuses on clean visuals, balanced colors, and strong composition.
When your photos look polished:
- They attract more attention online
- They improve engagement on social media
- They enhance your personal or brand image
Even small improvements can create a big impact.
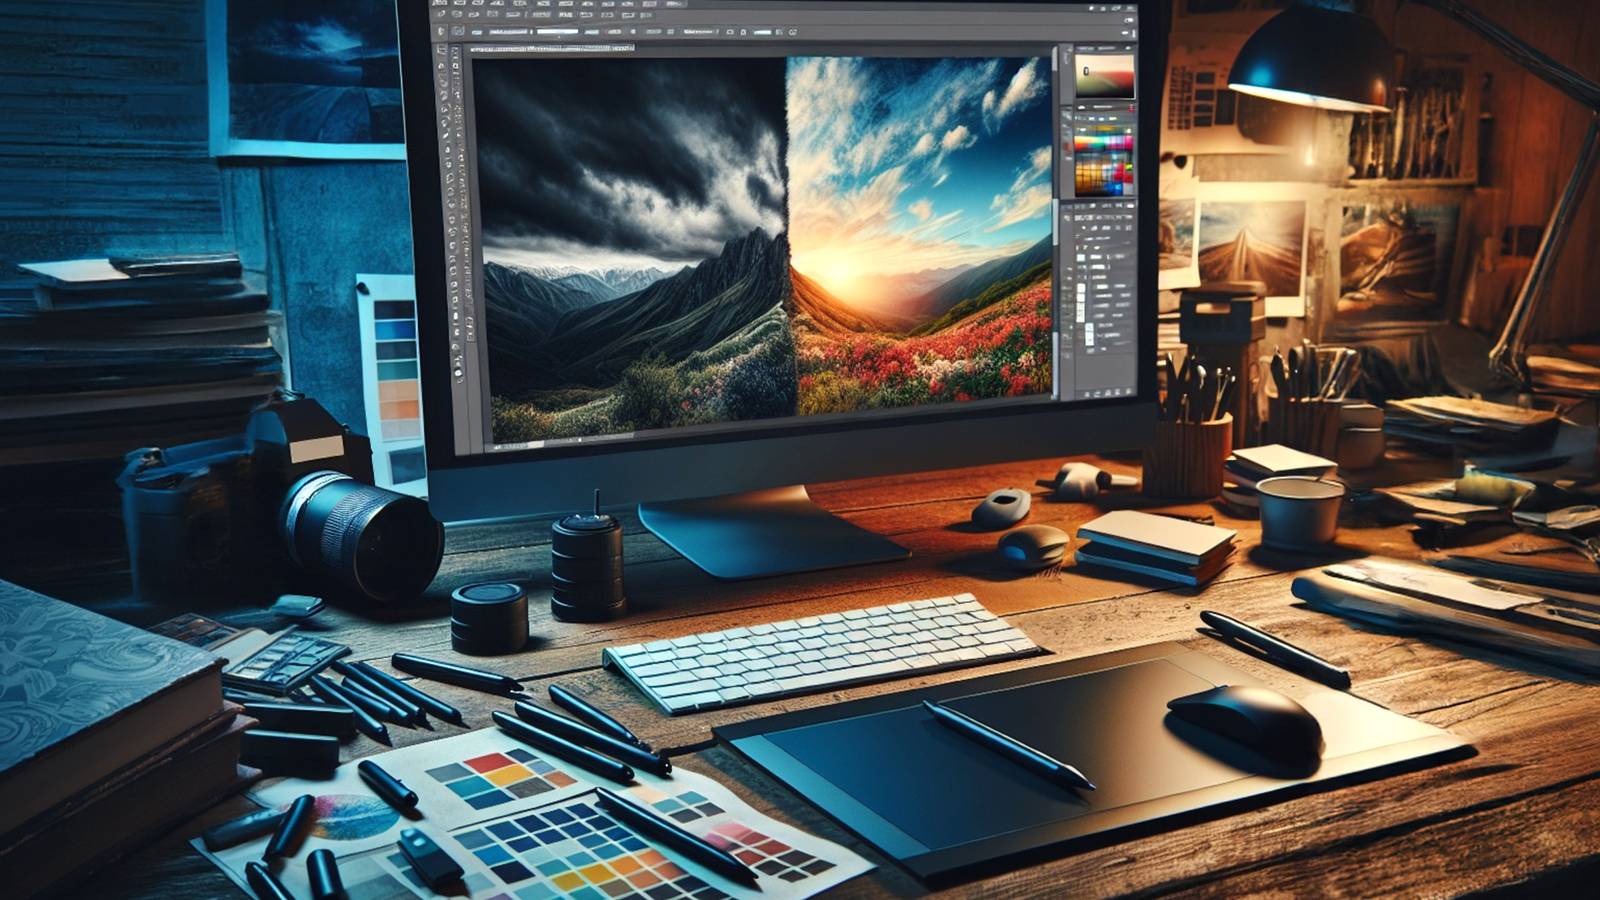
Start with the Right Tools
You don’t need complicated software to achieve great results. Here are some easy and powerful tools:
- Canva – Perfect for quick edits and design layouts
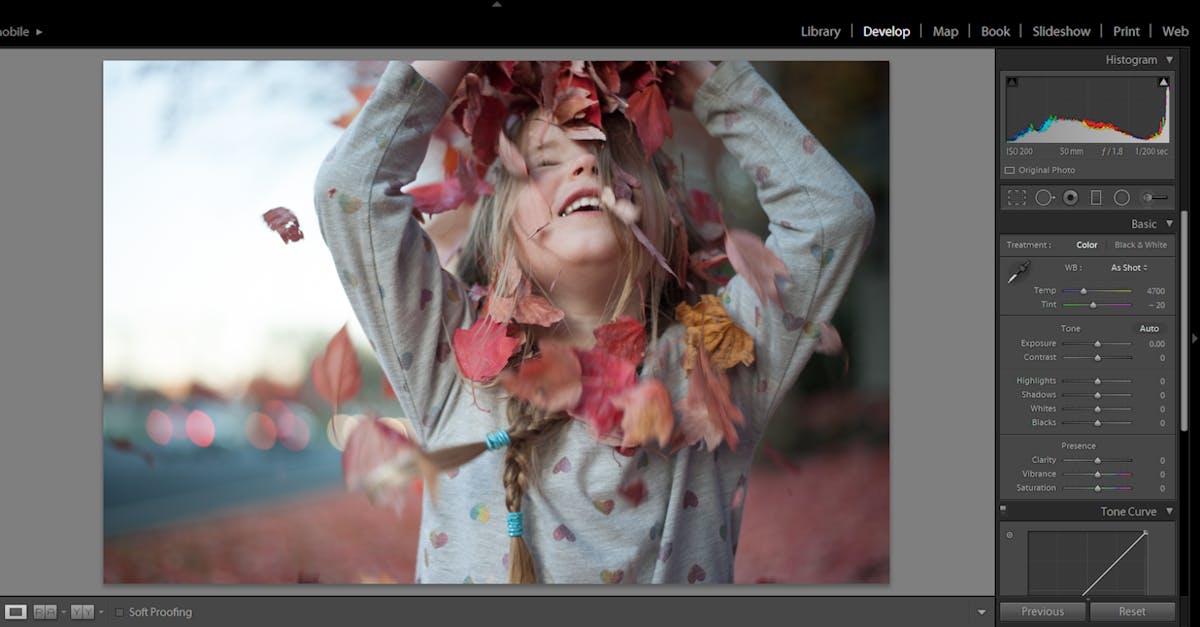
- Adobe Lightroom – Great for color adjustments
- Snapseed – Ideal for fast mobile editing
- Adobe Photoshop – Best for advanced edits
Choose a tool that matches your comfort level—simplicity is key when editing quickly.
Step-by-Step: Edit Photos Like a Designer
1. Crop for Better Composition
Start by cropping your image to remove distractions. Focus on the subject and follow basic composition rules like the rule of thirds.
A clean composition instantly makes your photo look more professional.
2. Fix Lighting and Exposure
Adjust brightness and exposure to make your image clear and well-lit.
Quick Tip:
- Increase brightness slightly
- Reduce harsh highlights
- Lift shadows for more detail
Good lighting is the foundation of every great photo.
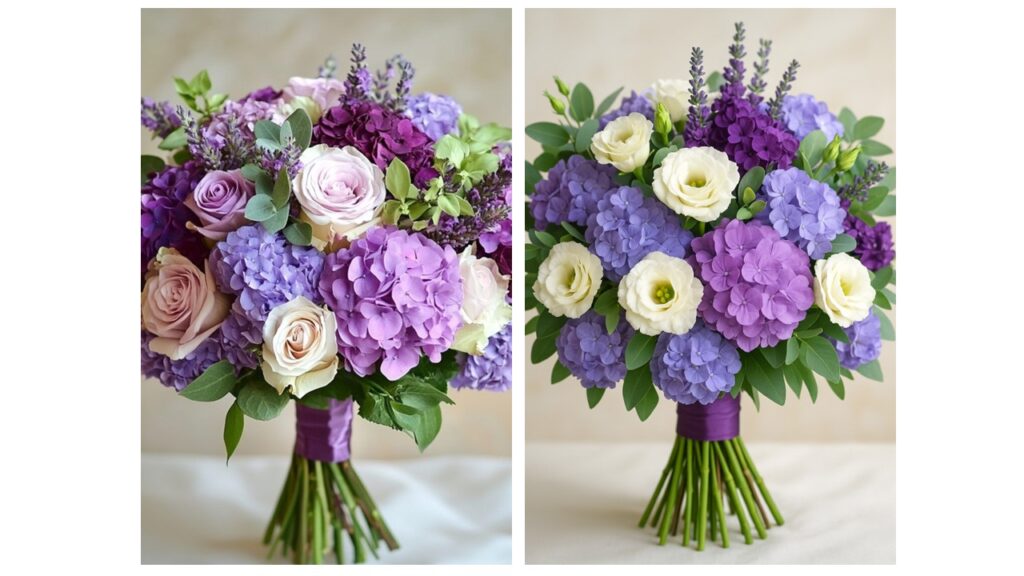
3. Enhance Colors (But Keep It Natural)
Instead of over-saturating colors, increase vibrance for a more natural effect.
- Warm tones = cozy and inviting
- Cool tones = calm and modern
Designer edits always look balanced—not overly edited.
4. Adjust Contrast and Sharpness
Add a bit of contrast to give your photo depth. Then slightly sharpen the image to improve clarity.
Be careful not to overdo it—subtle changes work best.
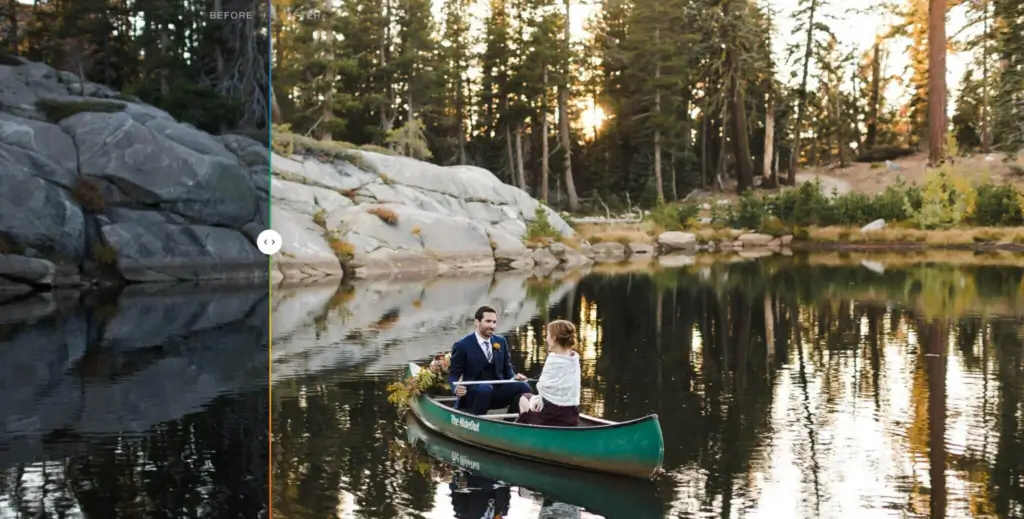
5. Use Presets or Filters Wisely
Presets can save time and give your photos a consistent look.
However:
- Avoid heavy filters
- Customize presets to suit your image
A designer touch is always refined and minimal.
6. Clean Up the Image
Remove unwanted objects or distractions from the background.
Tools like healing or clone features can help you:
- Remove blemishes
- Clean messy backgrounds
- Improve focus on the subject
This step instantly upgrades your photo quality.
7. Add Text or Design Elements (Optional)
If you're creating content for social media or blogs, adding text can enhance your design.
Keep it simple:
- Use clean fonts
- Maintain spacing
- Avoid clutter
Less is more when it comes to design.
Pro Tips to Edit Faster
If you want to edit like a designer in minutes, follow these quick tips:
- Use presets for consistent edits
- Create a simple editing routine
- Save your favorite settings
- Avoid overthinking small details
- Practice on different types of photos
Speed comes with practice and a clear workflow.
Common Mistakes to Avoid
Even simple edits can go wrong if you're not careful.
Avoid these mistakes:
- Over-editing photos
- Using too many filters
- Ignoring natural skin tones
- Adding too many effects
- Poor cropping and alignment
A clean and minimal approach always looks more professional.
Create Your Own Editing Style
As you practice, you’ll start developing your own style. This could be:
- Bright and airy
- Dark and moody
- Warm and soft
- Clean and minimal
Your style becomes your signature, helping your content stand out.
Why Simplicity Wins in Design
Professional designers don’t always use complex techniques—they focus on clarity, balance, and purpose. Simple edits often look more elegant and timeless.
Instead of trying to do everything, focus on doing a few things really well.
FAQs
1. Can I edit photos like a designer without experience?
Yes, anyone can learn photo editing with simple tools and practice. Start with basic adjustments and build your skills over time.
2. Which app is best for quick photo editing?
Snapseed and Canva are great for fast and easy edits, especially for beginners.
3. How long does it take to edit a photo professionally?
With practice, you can edit a photo in just a few minutes using presets and a simple workflow.
4. What is the biggest mistake in photo editing?
Over-editing is the most common mistake. Keeping edits natural is key.
5. Do I need Photoshop for designer-level editing?
No, tools like Lightroom, Canva, and Snapseed can also help you achieve professional results.
6. How can I improve my editing skills quickly?
Practice regularly, study good designs, and experiment with different styles
Who should use Digital Tools
Edit Photos Like a Designer in Minutes: Easy Pro Tips is built for readers who want a faster way to finish everyday web tasks. The main goal is shorter workflows, clearer outputs, and reusable tool habits, so the guide focuses on practical choices instead of broad theory.
Use it when you need one of these outcomes:
- testing a task before choosing a heavier app
- saving time on a repeated browser workflow
- combining a guide with a related AltFTool utility
How to get a better result
- Read the core use case and decide what output you need.
- Open the related AltFTool utility and test it with a small sample.
- Review the result, adjust settings, and repeat only if needed.
- Continue with related tools or guides for the next step in the workflow.
Start small, check the first output, and only then repeat the workflow with the full file, text, media, or game session. That gives you a quick quality check before you spend more time.
Quality checks before you trust the output
- the input is clean before running the tool
- the output matches the format you need
- private details are removed before sharing or downloading
Do not overcomplicate a simple task. Start with the smallest sample that proves the workflow, then scale up once the output looks right.
Continue your workflow
If you want to try the workflow now, open the related AltFTool tool area. For more reading, continue through the Digital Tools archive or the AltFTool tools directory.
This creates a cleaner path from explanation to action: read the guide, test the tool, compare the output, and move into the next related AltFTool resource only when it helps the task.
Reader questions
Quick answers
What is Edit Photos Like a Designer in Minutes: Easy Pro Tips about?
In today’s digital world, great visuals grab attention instantly. Whether you’re posting on social media, running a blog, or building a personal brand, well-edi
When should I use Digital Tools?
Use Digital Tools when you need testing a task before choosing a heavier app or saving time on a repeated browser workflow. It is best for shorter workflows, clearer outputs, and reusable tool habits.
How do I get better results from Digital Tools?
Start with a small sample, then check that the input is clean before running the tool and the output matches the format you need. Review the output before using it in a final workflow.
Where can I find more Digital Tools guides?
Use the AltFTool blog archive, AltFTool tools directory, and related links on this page to explore more Digital Tools tutorials, tool workflows, and practical recommendations.
Sources and review notes
References used to check facts, freshness, and reader-safe recommendations in this guide.
Reviewed against AltFTool editorial guidance, related site archives, and linked tool pages for freshness and reader usefulness.
- 1AltFTool Digital Tools archive
AltFTool
- 2AltFTool tools directory
AltFTool
Discussion
0 comments
No comments yet
Discussion will appear here once it loads.