In today’s digital world, photography is no longer limited to professionals with expensive cameras and studio setups. With the rise of smartphones and accessible editing software, anyone can transform an ordinary image into a stunning visual masterpiece. However, the secret behind those breathtaking images you see on social media or professional portfolios isn’t just the camera—it’s the editing.
Photo editing allows you to enhance colors, correct lighting, remove imperfections, and bring your creative vision to life. Whether you are a beginner, content creator, or professional photographer, using the right editing tools can significantly elevate your work. In this guide, we will explore some of the best photo editing tools available today and dive deep into their features, helping you understand how to use them effectively.
Why Photo Editing Matters
Before diving into the tools, it’s important to understand why photo editing plays such a crucial role. Even the best photographers rely on editing to fine-tune their images. Raw photos often lack the vibrancy, sharpness, or balance needed to make them visually appealing.
Editing helps you:
- Correct exposure and lighting issues
- Enhance colors and tones
- Remove unwanted objects or blemishes
- Add artistic effects and filters
- Maintain consistency across your content
With the right tools, you can transform a simple photo into something that looks professional and polished.
1. Adobe Photoshop

Adobe Photoshop is widely regarded as the industry standard for photo editing. Used by photographers, designers, and artists worldwide, it offers unmatched control and flexibility.
Key Features
1. Advanced Layer System
Photoshop’s layer-based editing allows you to work non-destructively. You can edit different parts of an image independently, making it easier to experiment without ruining the original photo.
2. Powerful Retouching Tools
Tools like the Healing Brush, Clone Stamp, and Spot Healing Brush make it easy to remove blemishes, wrinkles, or unwanted objects. This is especially useful for portrait photography.
3. AI-Powered Features
Photoshop includes AI tools like “Content-Aware Fill” and “Neural Filters” that can automatically adjust skin tones, remove objects, or even change facial expressions with minimal effort.
4. Color Grading and Adjustment Layers
You can fine-tune brightness, contrast, saturation, and color balance using adjustment layers. These tools help create cinematic or professional-grade color tones.
5. Extensive Plugin Support
Photoshop supports third-party plugins, allowing you to expand its capabilities even further.
Best For
- Professional photographers
- Graphic designers
- Advanced users who need complete control
Why It Stands Out
Photoshop is ideal if you want precision and advanced editing capabilities. It may have a learning curve, but once mastered, it can produce extraordinary results.
2. Adobe Lightroom
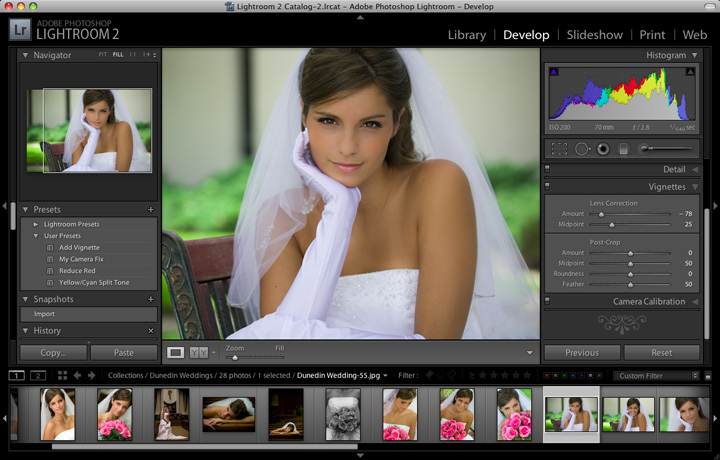
Adobe Lightroom is another powerful tool from Adobe, designed specifically for photographers who want efficient and high-quality edits without the complexity of Photoshop.
Key Features
1. Non-Destructive Editing
Lightroom keeps your original image intact while applying edits separately. This allows you to experiment freely without worrying about losing your original work.
2. Presets for Quick Edits
Presets are one-click adjustments that instantly transform your photos. You can use built-in presets or create your own style for consistent editing.
3. Advanced Color Grading
The color grading panel allows you to adjust highlights, midtones, and shadows individually. This is perfect for creating a cohesive visual style.
4. Batch Editing
You can apply the same edits to multiple photos at once, saving time when working on large projects like events or travel photography.
5. Cloud Syncing
Lightroom allows you to sync your edits across devices, making it easy to edit on your phone, tablet, or desktop.
Best For
- Beginners to intermediate photographers
- Social media creators
- Travel and lifestyle photographers
Why It Stands Out
Lightroom is perfect for those who want professional results quickly. It simplifies the editing process while still offering powerful tools.
3. Canva
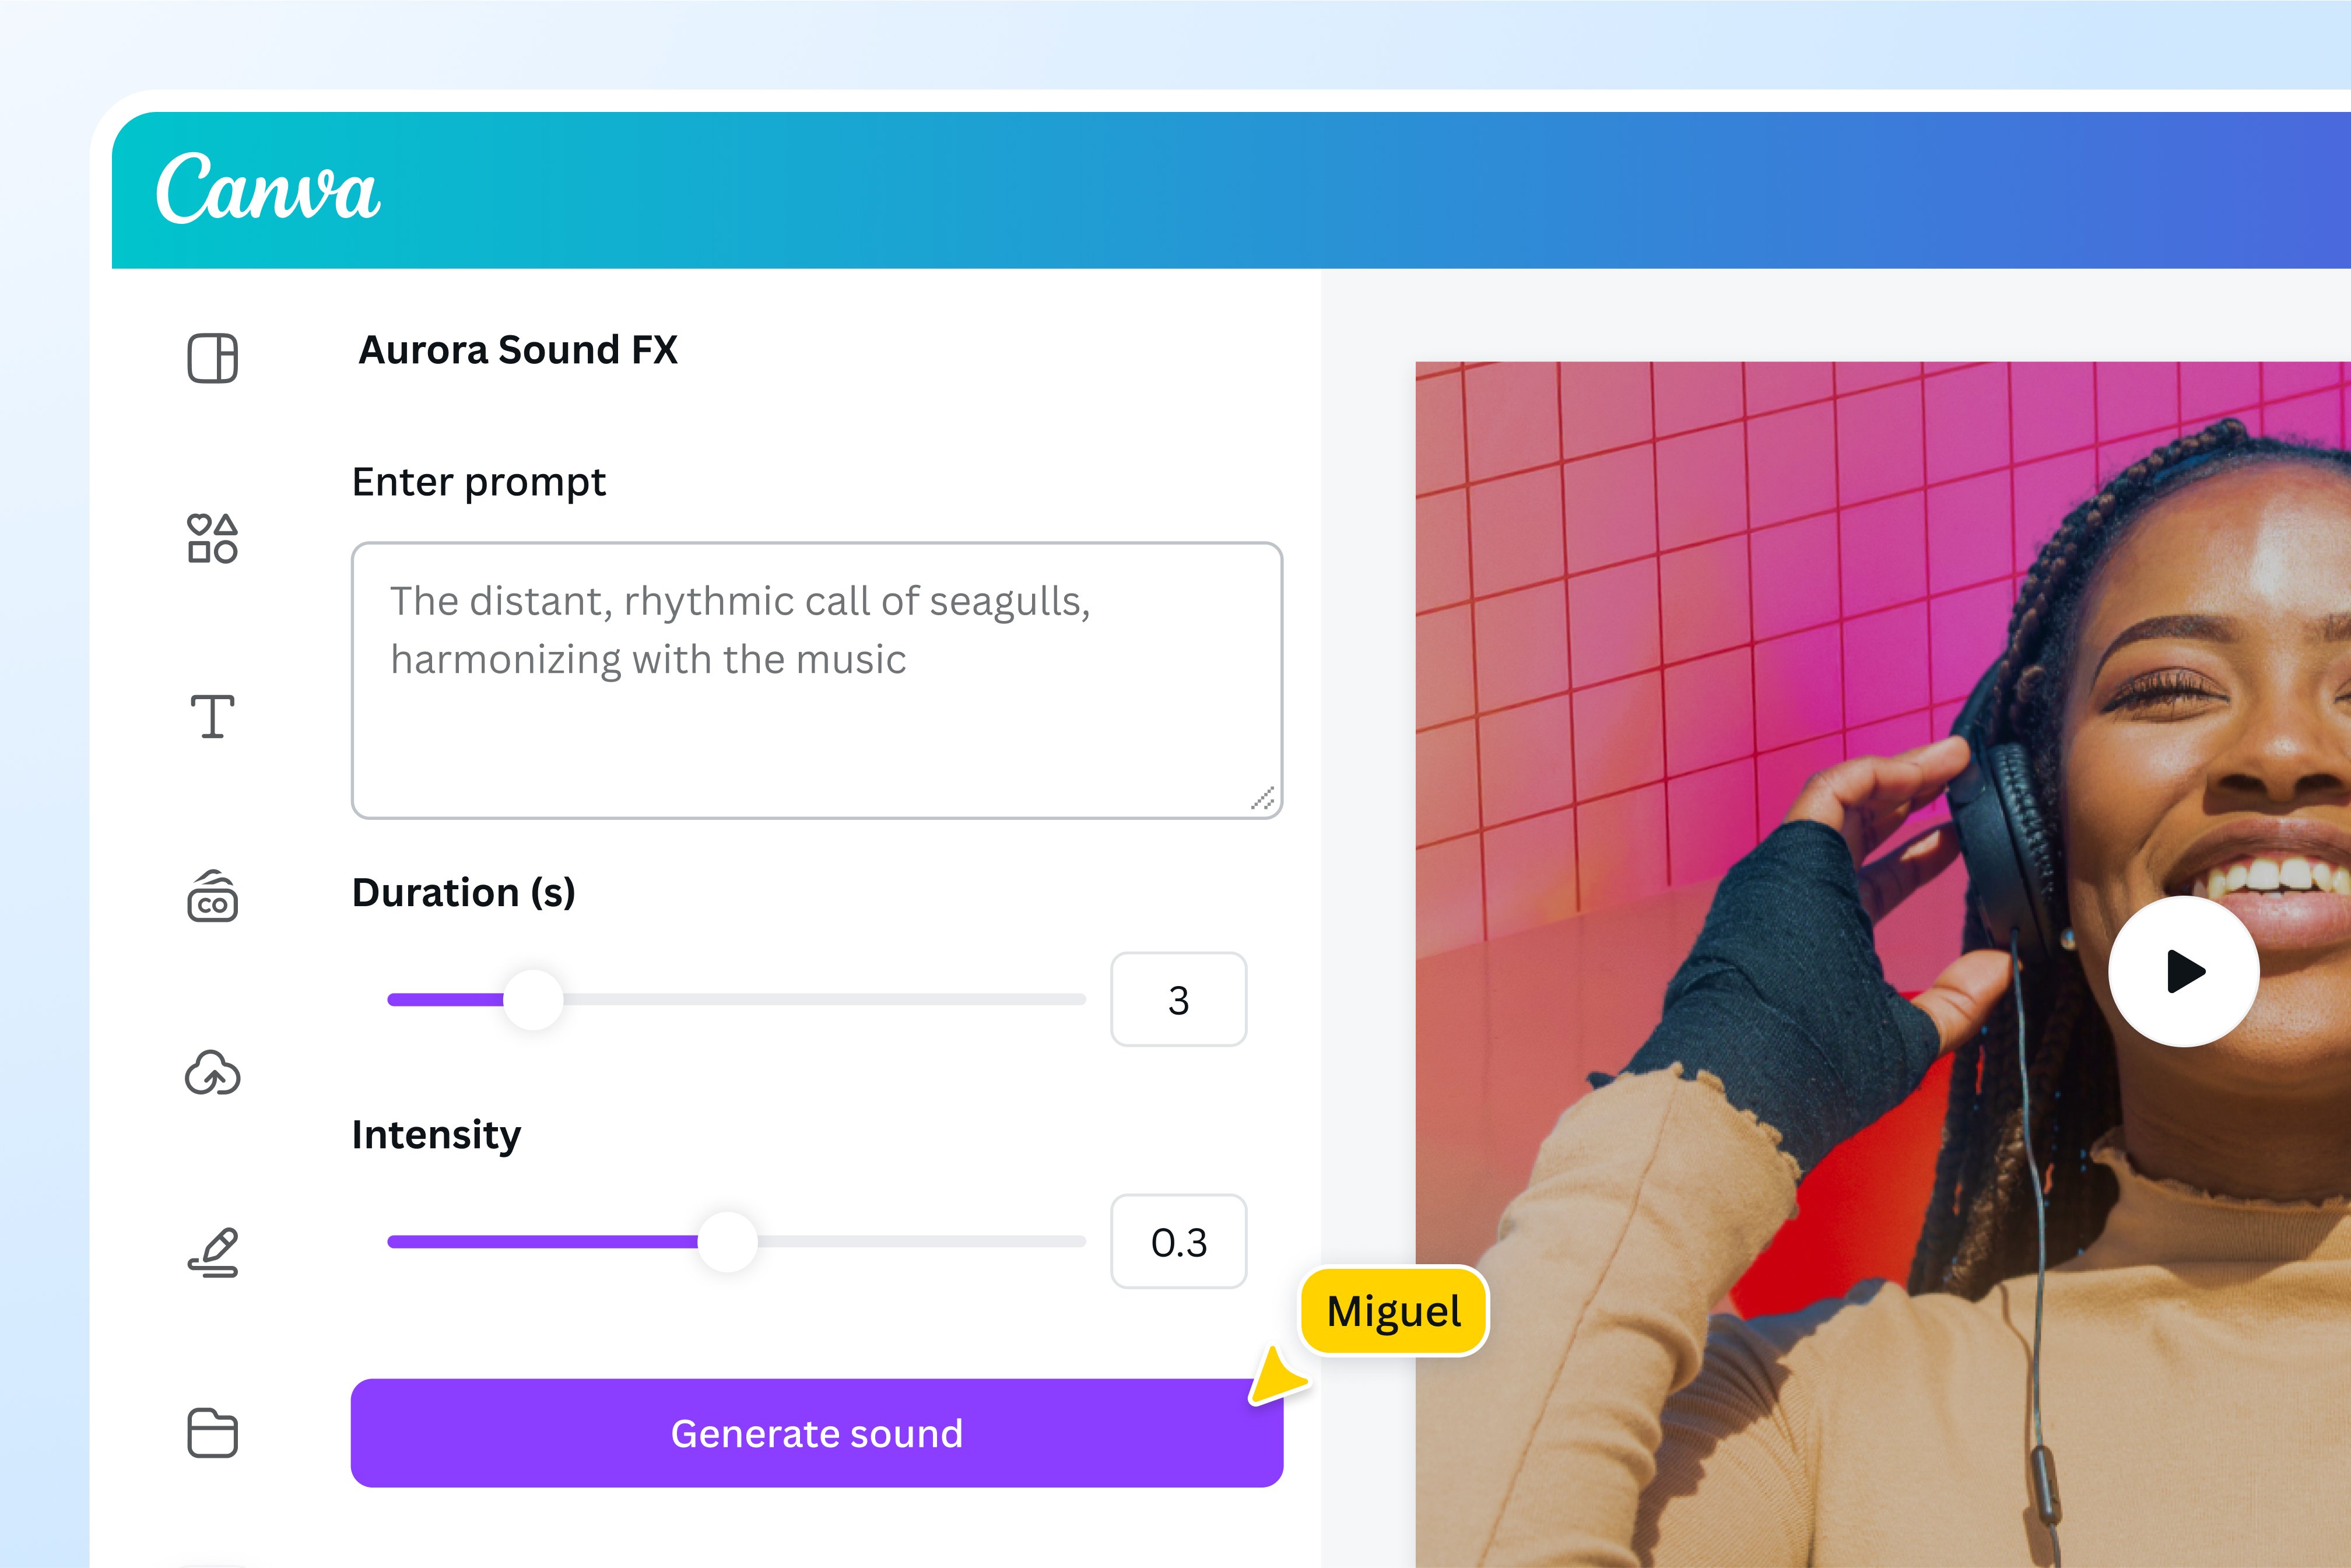
Canva has become one of the most popular tools for creators, especially for those who want simple yet effective editing without technical complexity.
Key Features
1. User-Friendly Interface
Canva is extremely easy to use, even for beginners. Its drag-and-drop functionality makes editing quick and intuitive.
2. Built-in Filters and Effects
You can apply filters, adjust brightness, contrast, and saturation, or add artistic effects with just a few clicks.
3. Templates for Social Media
Canva offers thousands of templates for Instagram posts, stories, banners, and more. This makes it ideal for content creators.
4. Background Remover
With one click, you can remove backgrounds from images—perfect for product photography or thumbnails.
5. Text and Graphics Integration
Canva allows you to add text, icons, and design elements, making it a complete visual content creation tool.
Best For
- Beginners
- Social media influencers
- Bloggers and marketers
Why It Stands Out
Canva is ideal for quick edits and visually appealing designs without needing advanced skills.
4. Snapseed

Snapseed, developed by Google, is a powerful mobile editing app that offers professional-grade tools for free.
Key Features
1. Selective Editing Tool
Snapseed allows you to edit specific areas of an image without affecting the rest. This is useful for adjusting brightness or color in certain parts of a photo.
2. Healing Tool
You can remove unwanted objects or blemishes easily using the healing feature.
3. Advanced Filters
Snapseed offers a wide range of filters, including HDR Scape, Drama, and Vintage, allowing you to create unique looks.
4. RAW Editing Support
You can edit RAW images directly, giving you more control over details and quality.
5. Fine-Tuned Adjustments
Tools like “Tune Image” allow you to adjust brightness, contrast, ambiance, highlights, and shadows with precision.
Best For
- Mobile photographers
- Beginners and hobbyists
- On-the-go editing
Why It Stands Out
Snapseed combines simplicity with powerful features, making it one of the best free editing apps available.
5. VSCO

VSCO is well-known for its aesthetic filters and minimalist editing approach, making it a favorite among Instagram users and creative photographers.
Key Features
1. High-Quality Presets
VSCO’s presets are designed to mimic film photography, giving your images a timeless and professional look.
2. Manual Adjustments
You can fine-tune exposure, contrast, temperature, tint, and sharpness to achieve the desired effect.
3. Grain and Fade Effects
These tools help create a vintage or cinematic feel in your photos.
4. Video Editing Capabilities
VSCO also allows basic video editing, making it useful for content creators.
5. Community Platform
VSCO has its own creative community where users can share and explore visual content.
Best For
- Aesthetic-focused creators
- Instagram photographers
- Lifestyle and fashion content
Why It Stands Out
VSCO is perfect for creating a consistent and visually appealing feed with minimal effort.
6. GIMP

GIMP (GNU Image Manipulation Program) is a free, open-source alternative to Photoshop that offers powerful editing tools.
Key Features
1. Customizable Interface
You can adjust the layout and tools according to your workflow.
2. Advanced Editing Tools
GIMP includes layers, masks, filters, and color adjustment tools similar to Photoshop.
3. Plugin Support
Like Photoshop, GIMP supports plugins that extend its functionality.
4. Cross-Platform Compatibility
It works on Windows, macOS, and Linux.
5. Free to Use
GIMP is completely free, making it accessible to everyone.
Best For
- Budget-conscious users
- Intermediate editors
- Open-source enthusiasts
Why It Stands Out
GIMP offers professional-level features without any cost, making it a great alternative for those who cannot invest in paid software.
How to Choose the Right Tool
Selecting the right editing tool depends on your needs and skill level.
- If you want advanced editing and full control, go for Photoshop
- If you prefer fast and professional photo enhancement, Lightroom is ideal
- If you need simple and creative designs, Canva works best
- For mobile editing, Snapseed and VSCO are excellent choices
- If you want a free professional tool, GIMP is a strong option
Tips to Edit Photos Like a Professional
Even with the best tools, your editing skills determine the final result. Here are some essential tips:
1. Start with Basic Adjustments
Always begin with exposure, contrast, and white balance before applying filters.
2. Avoid Over-Editing
Too much saturation or sharpness can make your photo look unnatural.
3. Use Presets Wisely
Presets are helpful, but always tweak them to suit your specific image.
4. Focus on Composition
Cropping and straightening can significantly improve your photo.
5. Maintain Consistency
Use similar tones and styles across your photos for a professional look.
FAQ
1. Which is the best photo editing tool for beginners?
Canva and Snapseed are great for beginners due to their simple interfaces and easy-to-use features.
2. Is Photoshop better than Lightroom?
Photoshop is better for detailed editing and manipulation, while Lightroom is ideal for quick and efficient photo enhancement.
3. Are free photo editing tools good enough?
Yes, tools like GIMP and Snapseed offer powerful features that can produce professional-quality results.
4. What is the best mobile photo editing app?
Snapseed and VSCO are among the best mobile apps for editing photos on the go.
5. Do professional photographers use presets?
Yes, many professionals use presets to speed up their workflow, but they often customize them for each photo.
Who should use Digital Tools
Transform Your Photos Like a Professional Best Editing Tools is built for readers who want a faster way to finish everyday web tasks. The main goal is shorter workflows, clearer outputs, and reusable tool habits, so the guide focuses on practical choices instead of broad theory.
Use it when you need one of these outcomes:
- testing a task before choosing a heavier app
- saving time on a repeated browser workflow
- combining a guide with a related AltFTool utility
How to get a better result
- Read the core use case and decide what output you need.
- Open the related AltFTool utility and test it with a small sample.
- Review the result, adjust settings, and repeat only if needed.
- Continue with related tools or guides for the next step in the workflow.
Start small, check the first output, and only then repeat the workflow with the full file, text, media, or game session. That gives you a quick quality check before you spend more time.
Quality checks before you trust the output
- the input is clean before running the tool
- the output matches the format you need
- private details are removed before sharing or downloading
Do not overcomplicate a simple task. Start with the smallest sample that proves the workflow, then scale up once the output looks right.
Continue your workflow
If you want to try the workflow now, open the related AltFTool tool area. For more reading, continue through the Digital Tools archive or the AltFTool tools directory.
This creates a cleaner path from explanation to action: read the guide, test the tool, compare the output, and move into the next related AltFTool resource only when it helps the task.
Reader questions
Quick answers
What is Transform Your Photos Like a Professional Best Editing Tools about?
In today’s digital world, photography is no longer limited to professionals with expensive cameras and studio setups. With the rise of smartphones and accessibl
When should I use Digital Tools?
Use Digital Tools when you need testing a task before choosing a heavier app or saving time on a repeated browser workflow. It is best for shorter workflows, clearer outputs, and reusable tool habits.
How do I get better results from Digital Tools?
Start with a small sample, then check that the input is clean before running the tool and the output matches the format you need. Review the output before using it in a final workflow.
Where can I find more Digital Tools guides?
Use the AltFTool blog archive, AltFTool tools directory, and related links on this page to explore more Digital Tools tutorials, tool workflows, and practical recommendations.
Sources and review notes
References used to check facts, freshness, and reader-safe recommendations in this guide.
Reviewed against AltFTool editorial guidance, related site archives, and linked tool pages for freshness and reader usefulness.
- 1AltFTool Digital Tools archive
AltFTool
- 2AltFTool tools directory
AltFTool
Discussion
0 comments
No comments yet
Discussion will appear here once it loads.